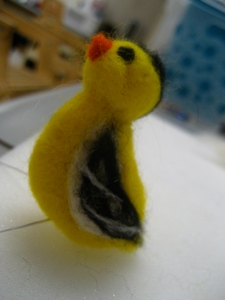
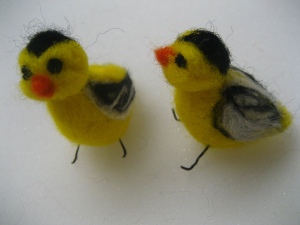
As you will soon come to learn, I really don’t know what I am doing on most of my crafts projects. I have a “try it and see” approach to most things and sometimes it works, sometimes it doesn’t. The reason I say that is that when I put up tutorials they are simply a step by step explanation of what I have done, not necessarily the “correct” way to do things. Below you can find a brief tutorial on how to make felted goldfinches. You will need wool roving, felting needles, and some sort of foam pad to keep your fingers and/or furniture safe from frequent (and as I learned – painful) stabbings. I should also note that I got a brief intro to the whole process from my sister-in-law which is the only reason I was not completely lost.
Step One: Find Your Muse
Thanks to google it is easier than ever to find beautifully detailed pictures of all sorts of wildlife. When I did an image search for “goldfinch” I found this little guy to use for inspiration.
© G.Bailey
Step Two: Shape Body
Roll a loose ball of roving for the body
Take your felting needles and work them in and out of the wool to compact the fibers together. This process is what shapes your bird’s body. Angle your needles in different directions to create the bumps and ridges needed to create your birdy foundation.
Step Three: Add a Head
Roll another (slightly smaller) ball of roving for the head. Attach it to the body by working your needles in and out of the base of the head and into the body.
Step Four: Add Facial Features
Roll one small ball of orange wool for the beak and two small balls of black wool for the eyes. Work your needles in and out of these features to fuse them to the head. At this point I usually work a little piece of wire through the bird’s base to use for legs as well.
Step Five: Detail Work
Use little pieces of black and white wool to create the feathers and coloring on the bird’s body. I like to leave this wool kind of loose when I am attaching it to the bird’s body because it gives it a little bit of a natural, “feathery” look. Once you have layered on these final pieces your bird is complete!
You can use these little guys as stand alone decorations or as a part of a larger project. I for one have a super secret plan for my birds (the result of which I will post after completion and delivery to its new home) that I am pretty excited about! Also, I thought I would mention that amazon.com occasionally has some great deals on needle felting supplies so check them out as well.


really enjoy the process photos
oh, and DARLING by the way
Thanks!